Six adjustments. Sixty seconds. That is all it takes to go from a chair that aches to one that actually supports you. The correct order is: seat height first, then seat depth, lumbar support, backrest angle and tilt tension, and finally armrests. Follow that sequence and you avoid the common trap of fixing one setting only to undo another. As Wirecutter notes, any chair regardless of price needs to be set up correctly before it delivers any benefit, and Imperial College’s occupational health guidance confirms that a short ordered sequence reduces back-and-forth adjustments, making it the most efficient workflow for hot-desking teams.
Your 60-second office chair adjustment routine:
Expected outcome: a neutral spine, feet flat on the floor, elbows level with the desk surface, and hips comfortably positioned with slight openness, with a 2–3 finger clearance between the seat edge and the back of your knees.
Pro Tip: Pin this checklist to your desk or save it on your phone. In hot-desking offices, a laminated quick-set card at each workstation cuts re-adjustment time to under a minute for every new user.
Correct office chair adjustment follows a fixed sequence: seat height first, then seat depth, lumbar, backrest angle, tilt tension, and armrests, and the whole routine takes under sixty seconds.
| Point | Details |
|---|---|
| Seat height is the foundation | Set feet flat on the floor with knees at roughly 90° before adjusting anything else. |
| Use the 2–3 finger gap rule | Slide the seat pan until two to three fingers fit between the seat edge and the back of your knees. |
| Lumbar at the hollow of your back | Position the lumbar pad at waist level so it fills the inward curve without forcing an arch. |
| Backrest angle of 100° | A slight recline reduces disc pressure; allow micro-reclines rather than locking rigidly upright. |
| Furnitureforbusiness for UK teams | Fully adjustable commercial chairs with free UK mainland delivery; sample seating available before bulk orders. |
A correctly set chair reduces neck, shoulder, and lower back strain by keeping the spine in its natural curve throughout the working day. Poor posture compounds over hours; a chair set even slightly too high or too low shifts load onto muscles and discs that are not built to sustain it. The CCOHS ergonomics guidance recommends adjustable chairs as the most practical single investment for teams, precisely because one size never fits all. For employers, the business case is straightforward: fewer discomfort complaints, fewer breaks to stretch, and better task endurance across the day.
Three things a well-adjusted chair does that a poorly set one cannot:
The Health and Safety Executive (HSE) expects employers to provide adjustable seating for display screen equipment (DSE) users and to train staff in how to use it. Getting the setup right is not optional; it is part of a basic DSE assessment.
Before you adjust anything, spend thirty seconds finding what you have. Most office chairs share the same family of controls, but their location and type vary.
Common controls and where to find them:
Ratchet vs knob backrest systems: A ratchet clicks upward in steps. To lower it, you lift it to the maximum position and let it drop back to re-index from the bottom. A knob system lets you loosen, slide, and re-tighten at any point, which gives finer control.
The number of levers tells you how much independent control you have. A single-lever chair typically links seat height and tilt together. A three-lever mechanism gives independent control over seat height, seat tilt, and back tilt separately, which is what most occupational health guidance recommends for shared workspaces.
Pro Tip: Before sitting down, cycle each control once while standing so you know which direction does what. A thirty-second test prevents accidental drops once you are seated.
Seat height is the foundation of every other adjustment. Get it wrong and nothing else can fully compensate.
If your feet do not reach the floor after matching elbow height to the desk, use a footrest rather than dropping the seat. Lowering the seat to reach the floor often pushes your elbows above desk height, which strains the shoulders. The University of Guelph occupational health guidance specifically recommends a footrest in this scenario. If your desk height is fixed and too high, a height-adjustable desk is the longer-term fix.
Pro Tip: Make small incremental changes, then type for thirty seconds before locking in. Typing posture reveals problems that a static seated check misses.
Seat depth affects thigh support and leg circulation. Too much depth and the seat edge digs into the backs of your knees; too little and your thighs are unsupported.
If your chair has no seat depth slider:
Troubleshooting a stuck seat slider: Test the release lever while standing with weight off the seat. Check the slider track for debris or a cable routed across it. If the seat locks in the wrong position and will not release, report it to your facilities team rather than forcing it.
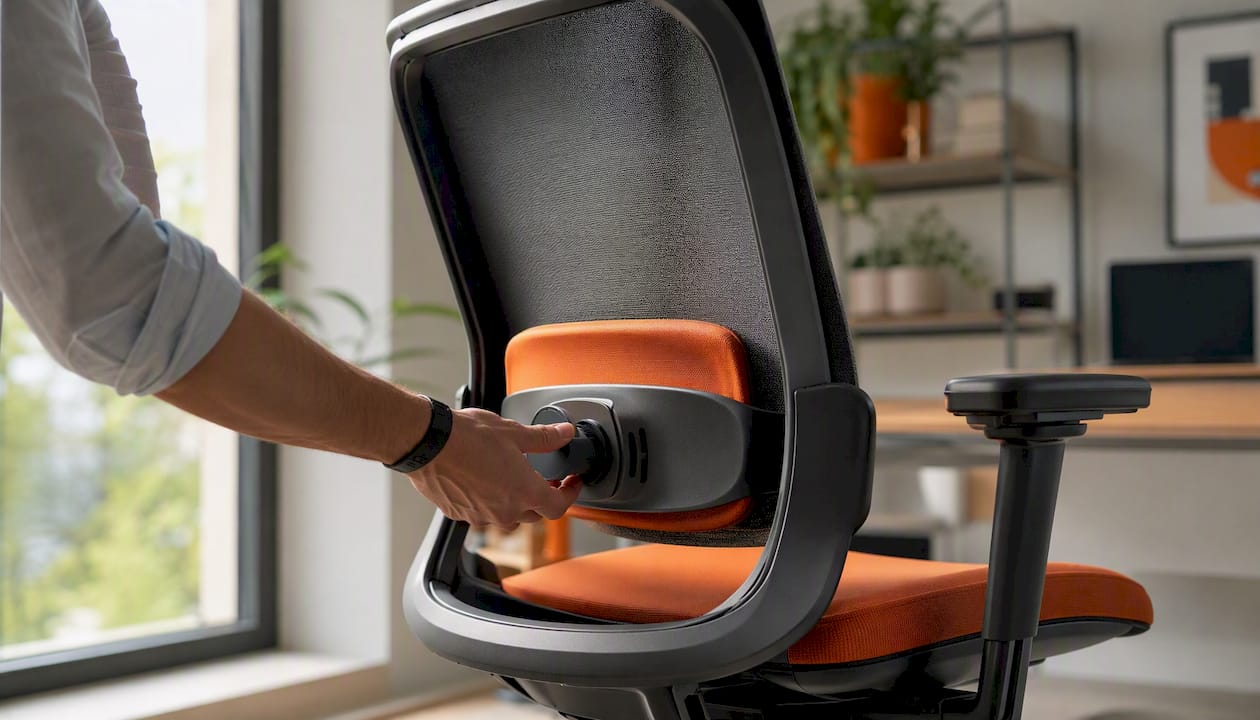
The lumbar support should fill the hollow of your lower back, not sit at mid-back or at the top of the pelvis.
The goal is a gentle, consistent contact that supports the natural inward curve of the lumbar spine without pushing you forward off the backrest.
Pro Tip: If your chair has a separate adjustable lumbar pad (common on executive chairs), set that before adjusting backrest height. Small changes of one click at a time are more effective than large shifts; the difference between correct and uncomfortable is often just a centimetre.
A fixed 90° backrest is not the target. WorkSafe Queensland guidance recommends a hip angle more open than 90 degrees for most people, noting that a slightly reclined backrest reduces disc pressure in the lower back compared with a rigid upright position.
Locking the backrest is not always the right choice. Allowing slight dynamic movement throughout the day, what occupational health specialists call micro-reclines, is more beneficial than holding a single rigid posture. WorkSafe Queensland’s guidance supports this, noting that encouraging movement reduces sustained loading on the lumbar discs.
Pro Tip: Set the tilt tension so you can recline with one deliberate lean, not a sudden drop. If the chair tips back the moment you relax, the tension is too loose and creates a fatigue risk.
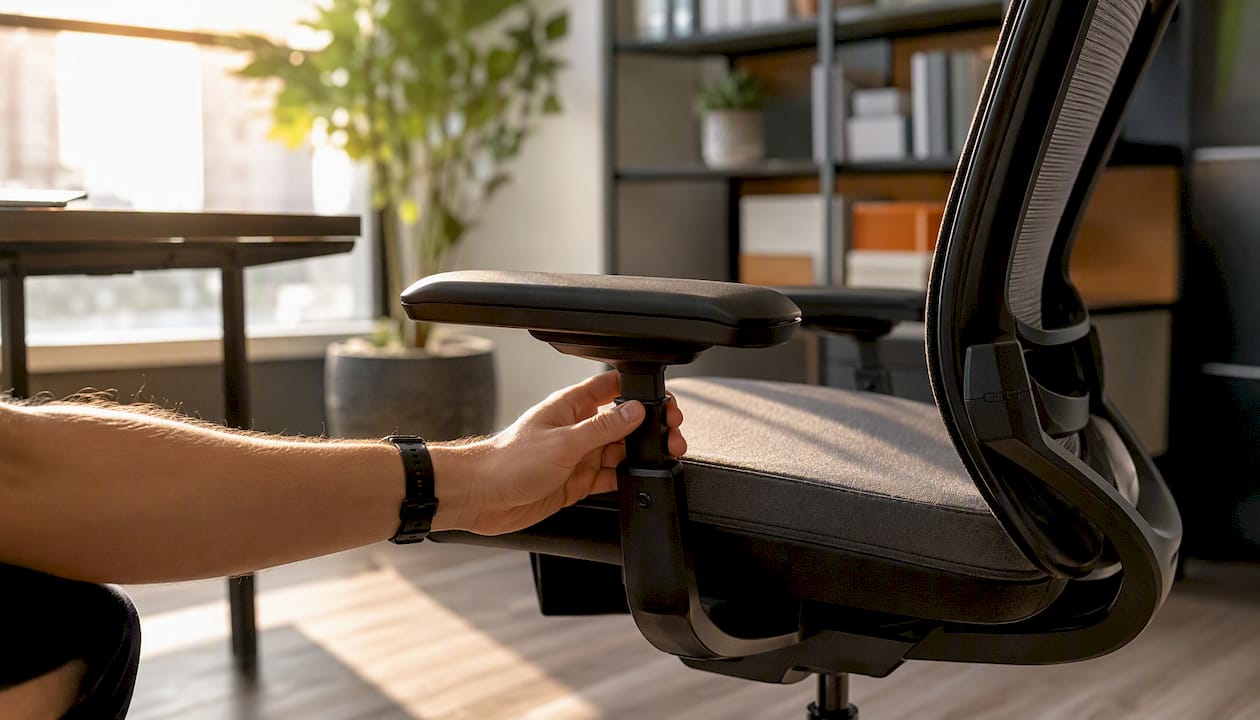
Armrests are the most commonly misused adjustment on an office chair. Set too high, they force the shoulders upward and create neck tension. Set too wide, they prevent you from sitting close to the desk.
Dos and don’ts:
The University of Guelph guidance recommends armrests that support the forearm with the elbow at roughly 90°, which aligns elbows with the desk surface and reduces shoulder loading.
Pro Tip: Shorter armrests with limited extension are better for keyboard-intensive work. Long armrests that extend far forward often catch on the desk and push the chair back, which is the opposite of what you want.
Most chair issues fall into four categories. Here is how to diagnose each one safely.
Imperial College’s occupational health guidance advises testing controls while standing to isolate the mechanism safely, and never forcing a stuck part. When load-bearing components fail, the chair should be removed from use rather than repaired in place.
Pro Tip: Keep a simple fault log near shared chairs. A note saying “height lever stiff since Monday” helps facilities prioritise repairs before a minor issue becomes a safety one.
Footrests: If your feet do not reach the floor after matching seat height to your desk, a footrest is the correct solution, not a lower seat. A footrest maintains thigh support while keeping elbows at desk height.
Fixed-height desks: When the desk cannot move, set the chair so your elbows align with the desk surface, then use a footrest if needed. If the desk is too high for any comfortable chair position, a height-adjustable desk resolves the conflict permanently.
Hot-desking: Leave a laminated quick-set card at each workstation with the six-step sequence above. Encourage users to make only the adjustments they need rather than resetting everything. A printable ergonomic workspace checklist can serve the same purpose.
Multi-user chairs: Where a single chair serves several people of different sizes, select a fully adjustable model with back height, seat depth, and tension control. For users outside the chair’s fit range, a footrest or seat cushion closes most of the gap. CCOHS guidance supports adjustable chairs as the preferred practical option for accommodating the majority of workers in a shared workspace.
At Furnitureforbusiness, the recommendation to office managers is consistent: set seat height and lumbar support before touching anything else. Those two adjustments account for the majority of posture complaints, and getting them right first means every subsequent setting falls into place more quickly.
For procurement teams equipping shared or hot-desking spaces, the single most useful specification to prioritise is a chair with independent back height, seat depth, and tilt tension controls. A chair that adjusts only in height forces compromise for anyone outside the average height range. Fully adjustable chairs cost more upfront, but they reduce the need for supplementary aids and lower the volume of DSE assessment follow-ups.
Furnitureforbusiness supplies ergonomic office chairs to UK businesses with free delivery to the UK mainland, and the team can arrange sample seating for teams before bulk orders are placed.
Buying the right chair matters, but only a correctly adjusted one delivers the posture support your team needs. Furnitureforbusiness supplies a range of fully adjustable commercial office chairs to UK businesses, from task and operator chairs to executive seating, all with free delivery to the UK mainland.

For office managers and procurement teams equipping five seats or five hundred, the range includes chairs with independent seat height, seat depth, back height, and tilt tension controls — the full set of adjustments this guide covers. Bulk order pricing is available, and the team can arrange sample chairs for your office before you commit to a larger order.
View the full range and request a quote at Furnitureforbusiness office chairs, or browse types of ergonomic office chairs to match the right mechanism to your team’s needs.

Phone: 0330 043 4114
VAT no. GB 991 8681 60
Company no. 07250570